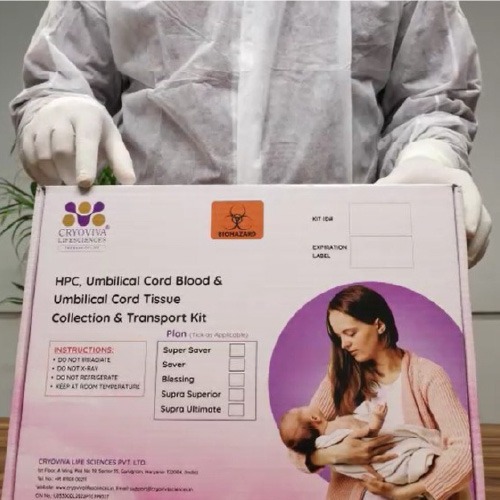
Step-by-Step Cord Blood Collection Process

The umbilical cord blood and the umbilical cord collection process.
Before commencing, one should put on the surgical gloves and the 150 ML blood bag should be taken out from the aluminium foil pouch. The umbilical cord is to be clamped, and then the povidone iodine ointment is to be applied on the
portion from where the blood will be drawn after disinfection. The alcohol swab is to be applied on the same portion and the area to be cleaned.
Once cleaned, the needle is put inside the umbilical cord vein, the blood flow begins. The blood bag is shaken so that the anticoagulant is properly mixed with the cord blood. If the blood flow reduces or stops, then Milking of the umbilical cord is very essential, that also from the placenta’s end towards the needle site. If needed, an attempt for a second puncture can be made. Elevate the cord blood bag and the blood is allowed to flow with gravity. Once the collection process is over, three knots are tied with the tube of the blood bag distal to the needle bearing end. This is done to prevent any air flow into the blood bag. Then the needle bearing end is cut off from the rest of the blood
bag.
The umbilical cord is clamped near the placenta end and the umbilical cord is cut. The cord is cleaned again with povidone iodine and thereafter a 50 ML Falcon tube with transport media is taken and the umbilical cord sample is gently put
inside the tube, and the cap is closed tightly.
;


.jpg)


 Enquiry
 Email
Email Phone
Phone
 Whatsapp